25 Feb How To Safely Tackle A Pimple At Home

I truly believe when you look good you feel good and something as small as a noticeable pimple lurking across one’s face can really deflate self confidence. I teach my clients not to extract their blemishes at home because it most often either leads to scarring or accidental spreading of the breakout. When you have a pimple, the follicle beneath it is inflamed which looks like a balloon beneath the skin. When you start pushing and squeezing that area the balloon pops beneath the skin and leaks the trapped bacterial beneath the surface of the skin into surrounding follicles where a new family of pimples can show up on your face in less than 24 hours.
Have you ever squeezed a pimple before bed time and woken up the next morning to the horror that the one you squeezed became larger and more red through the night and there is even a new one forming nearby? Well now you know why! During your moment of squeezing weakness, you irritated the existing blemish and spread the bacteria creating a sister blemish right next door.
My most effective advice for when you see a pimple that stresses you out is to make an appointment with your Aesthetician for him/her to professionally treat your break-out. However I am aware that there are times when you have a glaringly and obvious white head on your face, and maybe you have an important meeting, an event or a date to attend, and you need to literally take matters into your own hands. Here are my tips for tackling that pimple safely at home while minimizing any side effects. Follow these steps and watch your blemish disappear.
Step 1 ~ Evaluate
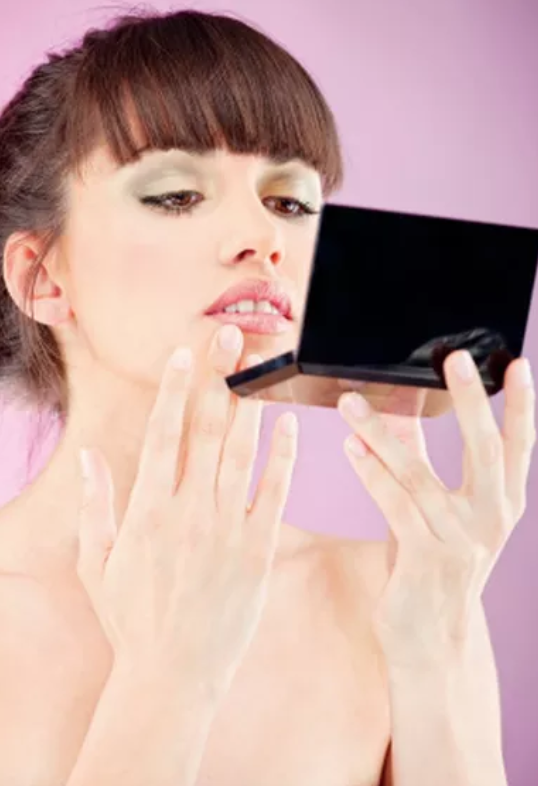
Take a look at the blemish up close in the mirror. Does it have a big white head or is it swollen and pink? If the tip of the blemish is prominent and noticeable, then you will try my extraction technique in Step 2, if the blemish is just red and swollen then bypass the extraction and go to step 3.
Jaime Says: NO MAGNIFYING MIRRORS ALLOWED!
When you use a magnifying mirror you are seeing the blemish as worse than what it is, which leads you to being more aggressive than necessary in treating it, which almost always leads to scarring. Your regular old bathroom mirror will do the trick, I promise.
Step 2~ Extract If Possible
I only recommend doing your own extraction if the white cap on the pimple is large and well formed, and you have somewhere to go like an important event. If this is the case, take care of the extraction the night before to minimize redness.
What you will do is:
a.) Cleanse your skin thoroughly using a gentle gel cleanser. This will remove excess surface oils.
b.) Fill your CLEAN sink with very warm water and soak a clean washcloth in the water for a minute to warm it up. Wring out the excess water and apply the warm compress over the blemish for 2 minutes. If the cloth cools off before the 2 minutes is up re-emerse it in your sink water to warm it back up and reapply.
c.) Now take 2 clean q-tips and position them on opposite sides of the white cap of the blemish. Gently wiggle them back and forth to release the white head. Very little pressure should be needed to do this. After 30 seconds if the white cap has not released, then the blemish is not ready to be extracted so stop trying and move onto the next step.
Jaime Says: If you are going to extract a blemish try to only do it at night before bed or at a time when you can go without makeup for several hours afterward. This will allow the blemish to heal faster and for any redness to subside before going out. The expression “Time Heals All Wounds” is spot on when it comes to healing pimples.
Step 3 ~ Sanitize
Whether you were able to extract the blemish or not you will need to wipe the area from left to right several times with a cotton pad that you’ve applied an antibacterial toner containing either 2% Salicylic Acid or Tea Tree Oil. The liquid toner helps to remove any bacteria that may be lingering around the pimple.
Step 4 ~ Dry It Up!
Apply a spot treatment containing Colloidal Sulfur over the blemish. It has a whitish tint so perform your extraction at a time when you can keep this on your skin for at least an hour. Colloidal Sulfur has the ability to kill bacteria, shrink inflammation and is less drying to the surrounding skin that traditional sulfur products. Also, be generous with the application: apply the spot treatment like a little masque and cover the blemish with a thick layer of the product. I recommend owning 2 spot treatments: one with Colloidal Sulfur for use at night, and one in a clear gel texture preferably containing 2% Salicylic Acid for the daytime. To effectively shrink a blemish you must treat it with spot treatments day and night. If you do so, your skin will be clear in half the time!
Jaime says: My FAVORITE night time blemish spot treatment is
“M-61 Powerspot Blemish Lotion”
I use it whenever I feel something brewing under my skin, and even the night after I’ve had a professional facial with extractions. It can stop pimples in their tracks and prevent them from becoming any larger. For a day-time gel formula spot treatment I am a fan of Renee Rouleau’s Daytime Blemish Gel. It contains Salicylic acid for breaking down the oil inside the blemish and killing bacteria, Tea Tree Extract for its antibacterial properties and Licorice Extract for its redness reducing properties.
Wishing you clear skin and speedy healing and remember: if you would prefer to leave your skin to a professional you can come in and see me for a Vitamin Infusion Facial!

Sorry, the comment form is closed at this time.